Establish Your Online Presence: Create a Google Site and Link Analytics
Written on
Chapter 1: Introduction
In today’s digital age, having a strong online presence is crucial for growth, especially since more people are accessing online content than ever before. Whether it’s for personal projects, businesses, or showcasing your art, a website serves as an essential platform.
Various tools allow you to build websites for free, including Blogspot, WordPress, Wix, and Odoo. Among these, I found Google Sites to be the most user-friendly and dependable option for launching my first website. This guide will walk you through creating a website using Google Sites and linking it to your Google Analytics account.
Section 1.1: Why Choose Google Sites?
Google Sites is both straightforward and unique. You can set up a new site in just 10 to 20 minutes. Upon creating a new site, it automatically saves in your Google Drive. You can collaborate with others, allowing real-time editing with friends or team members. This feature facilitates a shared workspace where you can observe changes as they happen.
You have the flexibility to either publish your site publicly or restrict access to select individuals, like friends or vendors. One of the standout features of Google Sites is its simplicity; you don't need any coding or design expertise. The platform provides seamless integration with Google Workspace, enabling easy access to various materials like Drive folders and shared calendars.
Google Sites offers a variety of themes, layouts, and fonts designed for optimal efficiency. These options ensure that your website not only looks great but is also responsive across all devices, whether desktops, tablets, or smartphones.

Chapter 2: Getting Started
This video titled "How To Add Google Analytics To Google Sites | Beginners Guide" offers a detailed walkthrough for beginners looking to integrate Google Analytics with their Google Sites.
How to Begin
To start, log in to your Google account and navigate to Google Sites.
Section 2.1: Creating a New Site
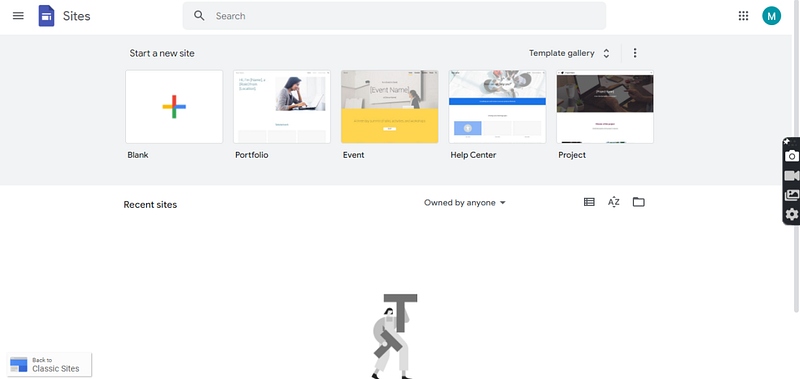
Once on the Google Sites homepage, look for the option to “start a new site” on the left. Below that, you’ll see options like Blank, Portfolio, Event, Help Center, and Project. You can explore more templates by clicking on the “template gallery” icon on the right side of the page. Make sure you are logged in to create your website.
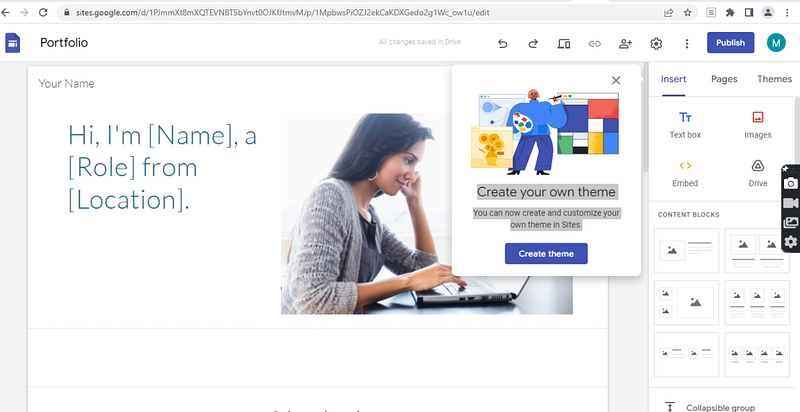
I chose the "Portfolio" template, which leads you to select a theme for your site. A pop-up will prompt you to create and customize your own theme.
Section 2.2: Selecting a Theme
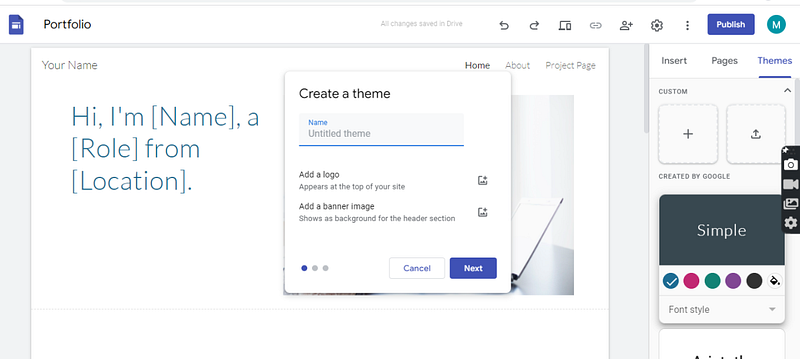
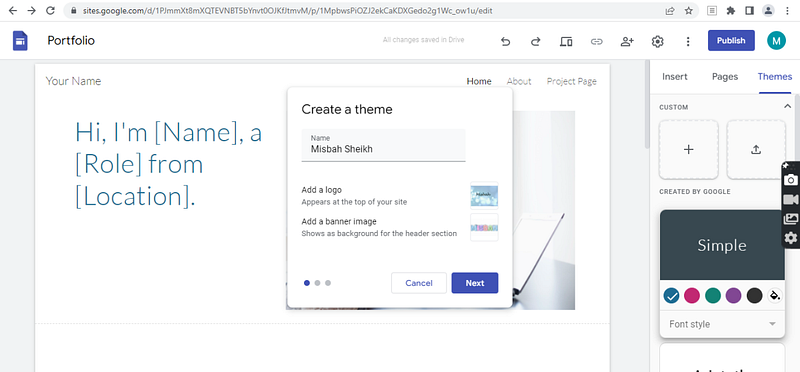
When you opt to create a theme, you will need to enter a title and upload a logo and banner image for your site.

Choose your color scheme, where you can select from preset options or customize your own colors.
Section 2.3: Choosing Fonts
After selecting your color scheme, you will be prompted to choose a font style. You can select up to two fonts: one for titles and headings and another for body text.
This video titled "Add Google Analytics to Google Sites" provides insights on integrating Google Analytics into your Google Sites.
Chapter 3: Designing Your Site
Create and customize your site according to your vision. The design process is intuitive; you can click, drag, and drop elements effortlessly. Google Sites automatically arranges everything in a grid layout, making adjustments simple.

Section 3.1: Previewing Your Site
Before publishing, make sure to preview your site. Google Sites allows you to view your website's appearance on different devices: phone, tablet, and large screen.

Section 3.2: Publishing Your Site
When you’re ready to publish, you’ll need to finalize the URL by adding a name. The URL must consist only of letters, numbers, and dashes. After publishing, you can continue to make edits; just remember to republish to reflect any changes.
To manage visibility, click on “Who can see my site” and decide whether to share it with specific people or your domain.
Section 3.3: Connecting to Google Analytics
After publishing, it's time to connect your site to Google Analytics, which will enable you to monitor traffic. Click the settings icon near the publish button, select “Analytics,” and follow the prompts to enter your Analytics property ID.

This connection may take up to 24 hours to begin displaying traffic data. Once set up, you can analyze where your visitors are coming from and how they interact with your site.
Conclusion
Once your site is live, share the link via email or chat. Enjoy the process of creating your site with Google Sites, and good luck on your digital journey!
For more practical tips and inspiring stories, follow The Hub Publication.
The Hub Publication
Get daily inspiration and transform your life with fascinating, bold, and authentic stories.
thehubpublication.com
© 2022 Misbah Sheikh